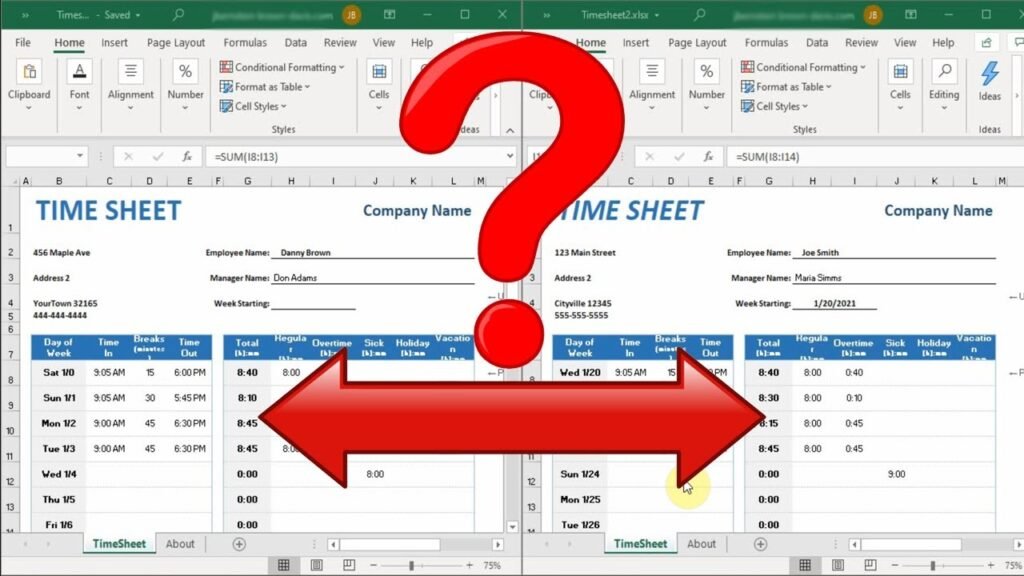
Picking software without comparing your options is like buying a car without test-driving it. Sure, it might look great in the description, but will it actually work for you? With so many choices available, making an informed decision saves time, money, and frustration. The key is knowing how to compare software effectively—because not all tools are created equal.
Step 1: Identify Your Must-Have Features
Before you even look at specific tools, get clear on what you actually need. It’s easy to be swayed by flashy features, but if they don’t solve your problems, they’re just distractions. Think about:
- Essential functions – What are the absolute non-negotiables?
- Nice-to-haves – Features that would be helpful but aren’t deal-breakers.
- Future needs – Will you need more advanced capabilities down the line?
For example, if you’re comparing AI meeting tools like Chorus vs Gong, your must-haves might include accurate transcription, integration with your current software, and ease of use. Once you know what matters most, you can filter out options that don’t meet your criteria.
Step 2: Compare Features Side by Side
Once you’ve shortlisted a few options, it’s time to do a direct comparison. This is where a simple chart can help. List out each software’s core features and see how they stack up against each other.
Consider things like:
- User interface – Is it easy to navigate?
- Customisation – Can it be tailored to your needs?
- Collaboration tools – Does it support teamwork and shared access?
- Support & updates – How responsive is customer service? Do they release frequent updates?
A visual comparison helps highlight differences that aren’t always obvious at first glance.
Step 3: Read Reviews (But Be Selective)
User reviews can give real insight into a tool’s strengths and weaknesses. However, not all reviews are useful. Some are overly positive because they’re sponsored, while others are negative for reasons that may not apply to you. To get the most value from reviews:
- Look for detailed feedback – A review that just says “great software” or “terrible” isn’t helpful. Find ones that explain why.
- Check multiple sources – Don’t rely on just one site. Look at independent forums, software review platforms, and even Reddit discussions.
- Filter by relevant use cases – A bad review from a large enterprise might not matter if you’re a freelancer with different needs.
Step 4: Take Advantage of Free Trials
Nothing beats hands-on experience. Many software providers offer free trials or demo versions, and this is your chance to see if a tool actually works for you. When testing a trial version, focus on:
- Ease of setup – Was it quick and straightforward?
- Functionality – Did it do everything you expected?
- Speed & reliability – Did it lag, crash, or feel slow?
- Team feedback – If others will be using it, do they find it intuitive?
The best software should feel natural to use, not frustrating from the start. If you find yourself struggling early on, it might not be the right choice.
Step 5: Check for Integrations and Compatibility
Most people don’t use software in isolation. Your new tool should work well with the systems you already rely on. Whether it’s connecting with your CRM, email platform, or project management software, integrations make life easier. Before committing, verify:
- Which integrations are available – Not all tools connect with every platform.
- Ease of setup – Some require third-party connectors or extra steps.
- Mobile access – If you work on the go, is there a mobile-friendly version?
Step 6: Compare Pricing (Beyond the Surface)
Pricing isn’t just about the monthly or yearly subscription fee. Some tools look affordable upfront but have hidden costs like add-ons, integration fees, or limited functionality on lower-tier plans. To get a true cost comparison:
- Check what’s included in each pricing tier – Some plans may seem cheap but lack key features.
- Factor in scalability – Will you need a more expensive plan as your needs grow?
- Look at long-term savings – A slightly more expensive tool that saves time could be worth the extra cost.
Many companies also offer discounts for annual billing, so if you’re confident in a tool, it might be worth paying upfront.
Step 7: Read Comparison Articles & Expert Insights
Doing your own research is essential, but you don’t have to start from scratch. There are plenty of comparison articles already available that break down pros and cons in an easy-to-digest way. The key is finding reputable sources that offer unbiased insights.
Look for:
- Independent tech blogs – Not ones that are sponsored by a specific software provider.
- Comparison websites with side-by-side breakdowns – These can help clarify differences quickly.
- Industry experts’ opinions – If a well-respected figure in your field recommends a tool, it’s worth considering.
Just make sure you’re reading up-to-date comparisons. Software evolves quickly, and what was true a year ago might not apply now.
Step 8: Make the Decision
By this stage, you should have all the information you need to make a choice. If you’re stuck between two options, go back to your original must-have list and see which one ticks more boxes. Also, trust your experience—if one felt smoother during the trial period, that’s a strong indicator of long-term usability.
At the end of the day, the best software is the one that makes your work easier, integrates well with your workflow, and provides value for money. Taking the time to compare properly ensures you choose a tool you won’t regret later.

